


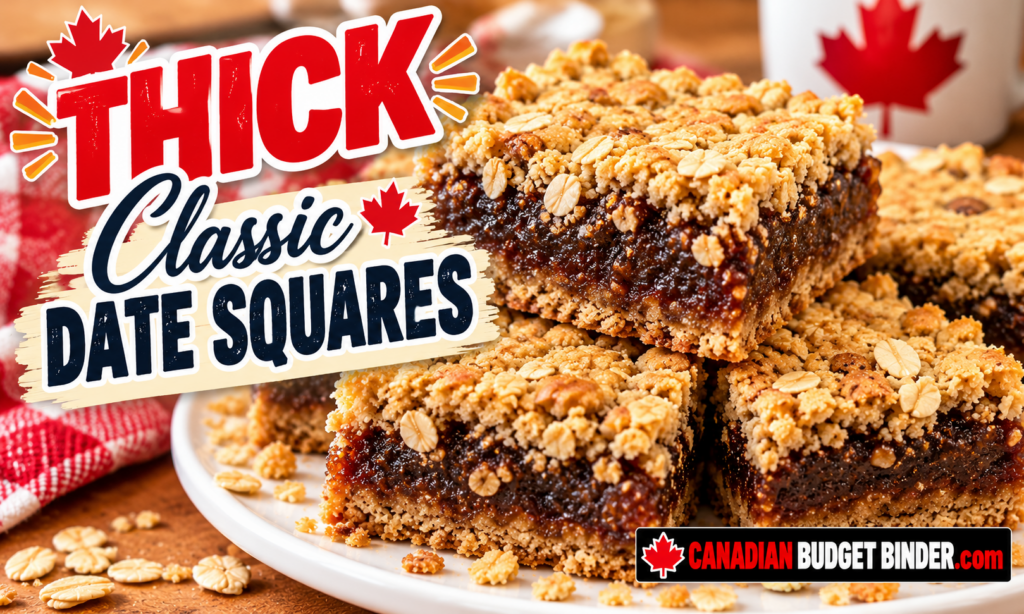
These classic Canadian date squares have a thick, rich date filling between layers of buttery oat crumble. Also called matrimonial squares, they’re an old-fashioned favourite for Christmas baking, family gatherings, bake sales, or an afternoon cup of tea.
I like my date squares thick, with plenty of filling and a generous oat base. This homemade recipe uses simple pantry ingredients, and I’ll show you how to make it step by step.
History Of Canadian Date Squares
Date squares have been a favourite in Canadian home baking for generations, especially around the holidays. Their combination of sweet dates and buttery oat crumble makes them a familiar treat.
These are the best squares I’ve ever tasted, and I don’t skimp on the ingredients.
Recipe Update 2023: A 13×9 baking pan doubles this recipe. Use an 8×8 baking pan to make this recipe.
Classic Date Bars For Everyone
Canadian date squares are also called matrimonial squares or date bars. Whatever you call them, the generous layer of date filling is what makes this version special.
These squares are perfect for serving at a wedding reception or shower, topped with ice cream, whipped cream, or Greek yogurt.
The history behind the wedding cake is that two layers of oats come together with the date filling.
It’s a marriage of oats and dates, as is a couple who gets married, hence the married name.
Oatmeal Favourite Recipes
I’m a massive fan of the fudgy chocolate brownie, but classic date squares, aside from a chocolate treat, are number one in my books.
You might find my face buried in delicious oatmeal raisin cookies or any dessert involving oatmeal, such as Oatmeal jam-filled squares.
I made these old-fashioned date squares a few times a year and decided to like them with a thick center and base.
Some of my colleagues asked that I make them for work after bringing them in for a bake sale last year.
Homemade Date Squares vs. Bakery Date Squares
If you aren’t a fan of baking, you could buy a wide variety of these squares at a grocery store, coffee shop, or local bakery.
You will notice that the price tag for one date square is high and shocking since they are inexpensive to make.
Making a full tray at home can be more economical than buying individual date squares at a bakery, especially when you already have oats, flour, and sugar in the pantry.
Oatmeal, dates, and butter are the main ingredients; you can find them on sale or buy them from Amazon.
Buying dates and oats on sale can help keep the cost of homemade baking down.
Baking at home vs. store-bought baking is much cheaper, so we tend to bake more at home rather than from shops.
How to Store Date Squares


One of the most common questions when I bring a batch for a dinner party or bake sale is, “How do you make date squares“?
Eating a few squares as soon as they are cool enough means you won’t have to worry about them going wrong.
Ideally, you might make this easy recipe for a dinner party, bake sale, or summer bbq.
You can make these ahead for holidays or guests. For detailed refrigerator and freezer instructions, see the storage section below.
If you leave them out long enough, they can mold just like bread; however, keeping them refrigerated or frozen is ideal.
Tips for Making Thick Date Squares
For thick date squares, use the 8×8-inch pan called for in this recipe; a larger pan makes the layers thinner unless you double the batch. Cook the dates until the filling is thick and spreadable, press two-thirds of the oat mixture into the base, then scatter the remaining crumble loosely over the top. Let the baked squares cool completely before slicing so the generous date layer holds together.
They look decadent and challenging, but they’re not hard to make.
Making this square recipe won’t keep you in the kitchen for hours.
You can whip a batch up in under an hour, and they taste better than buying them from the bakery.
Your friends won’t believe you made them because they are rich and perfect paired with tea or coffee.
Although this might not be a healthy date squares recipe, anyone would appreciate it as a treat.
Varieties of Date Squares
I like to spice up my recipe by adding cinnamon to the base, lemon juice, orange rind, and other spices.
Typically I stick to a traditional recipe with oatmeal and cinnamon in the mix, but they are versatile for flavours.
Our pantry has quick oats, but I prefer large flake oats to give the squares a chewy texture.
As mentioned, I like to make my squares thick, adding a good amount of oats to the base and the topping.
Many dates are worldwide, and the expected dates used for the date square are Medjool.
Medjool dates are the best to use when making any recipe for dates.
Date fruit comes from the Date palm, a staple food of the Middle East cultivated since ancient times.
Also, date palms take 4 to 8 years before they bear fruit.
Perhaps this is why they can be a bit pricey, depending on the kind you buy.
I don’t skimp on the filling. I sometimes buy pitted dates in a 1 kg bag on Amazon; check the current price before buying.
I can make 2 to 3 batches from one bag of dates with that amount.
If you want orange date squares, you’ll need to add 1/3 cup of orange juice and two tablespoons of grated orange rind to the date mixture.
Ingredients for Classic Canadian Date Squares
- 13×9 baking pan double recipe
- 8×8 baking pan single recipe
- Preheat the oven to 350 degrees
- 1 pound pitted dates
- 1.5 cups of water
- 1 tablespoon lemon juice
- 2 cups large oats or quick oats
- 1 teaspoon baking powder
- 3/4 cup brown sugar for oats mixture
- 1 cup all-purpose flour
- 2 tablespoons of brown sugar for the date mixture
- 1/2 teaspoon of baking soda
- 1 cup of cubed cold butter
- 1/4 teaspoon salt
- 1 tablespoon or add to your preference cinnamon
- 1 teaspoon vanilla extract
- parchment paper
- cooking spray
How to Make Thick Canadian Date Squares: Step by Step

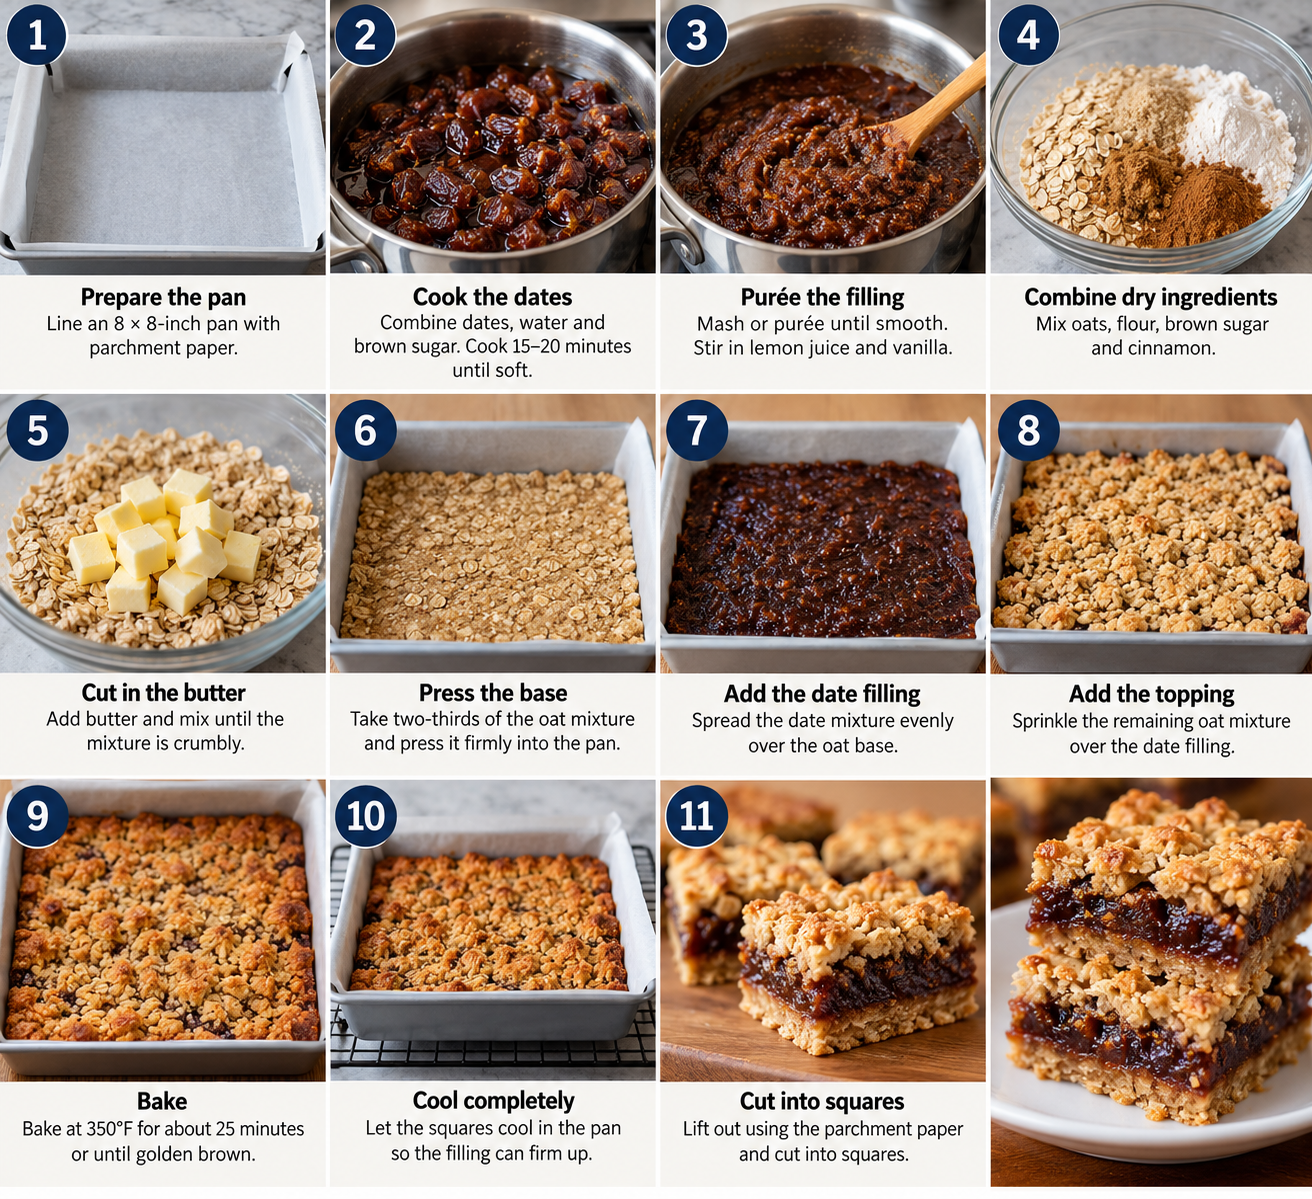
The printable recipe card is below the step-by-step instructions.
Recipe Update: A 13×9 baking pan is used to double this recipe. Use an 8×8 baking pan to make this recipe.
- Step 1: Preheat the oven to 350°F (175°C).
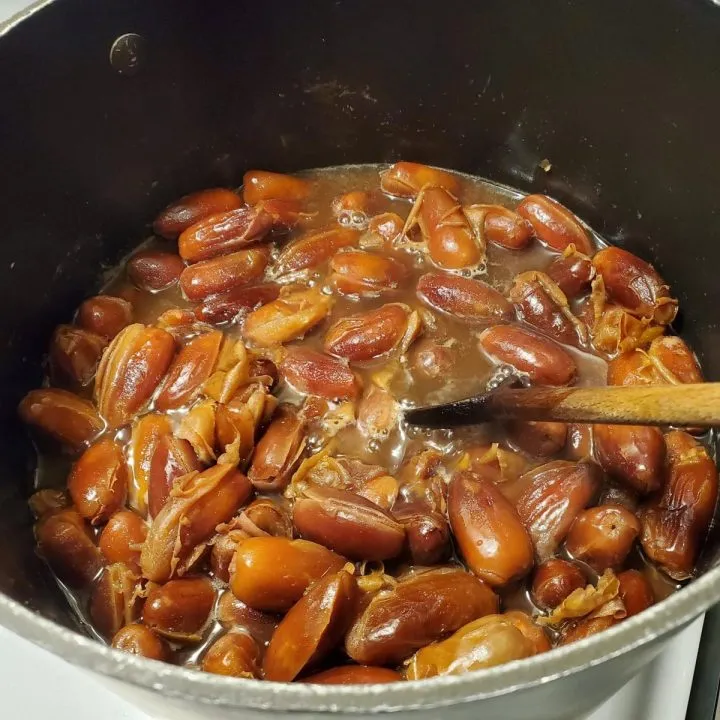
- Step 2: Cook the dates. Combine the pitted dates, 1½ cups water, 1 tablespoon lemon juice, 2 tablespoons brown sugar, and vanilla in a pot. Cook until tender, about 15–20 minutes, then allow to cool.
- Step 3: Prepare the filling. Purée the cooled dates in a food processor until smooth. For a chunkier filling, mash them with a fork instead.
- Step 4: Prepare the pan. Spray an 8×8-inch baking pan with cooking spray, then line it with parchment paper, leaving an overhang for lifting the squares.
- Step 5: Make the oat crumble. In a bowl, combine the flour, salt, oats, butter, brown sugar, baking soda, baking powder, and cinnamon. Mix in the food processor until combined and the oats are in chunks.
- Step 6: Press in the base. Pat two-thirds of the oat mixture into the bottom of the lined baking pan. I use a fork around the pan to ensure it’s tightly packed.
- Step 7: Spread the filling. Add the date mixture over the oat base and smooth it out evenly.
- Step 8: Add the crumble topping. Scatter the remaining oat mixture over the date filling. Don’t press in as you did for the bottom of the pan. Just let the oats fall all over the top of the date mixture.
- Step 9: Bake. Bake for 25 minutes or until golden brown.
- Step 10: Cool completely. Lift the cooled squares out using the parchment paper and place them on the counter.
- Step 11: Cut and serve. Cut into squares with a knife and set them back into the pan. The parchment helps to get them out quickly.
Printable Canadian Date Squares Recipe
Thick Classic Date Squares
Thick Classic date squares but with a more delicious filling. You'll love the flavour of the oats and dates in this popular recipe.
Ingredients
- Pre-heat oven to 350 degrees
- 1 pound pitted dates
- 1.5 cups of water
- 1 tablespoon lemon juice
- 2 cups large oats or quick oats
- 1 teaspoon baking powder
- 3/4 cup brown sugar for oats mixture
- 1 cup all-purpose flour
- 2 tablespoons of brown sugar for date mixture
- 1/2 teaspoon of baking soda
- 1 cup of cubed cold butter
- 1/4 teaspoon salt
- 1 tablespoon or add to your preference cinnamon
- 1 teaspoon vanilla extract
- parchment paper
- cooking spray
Instructions
- Preheat your oven to 350 degrees.
- Put your pitted dates in a pot with 1 1/2 cups of water, a tablespoon of lemon juice, two tablespoons of brown sugar, and vanilla, then cook until tender (about 15-20 minutes), then cool.
- Puree cooled dates in a food processor until blended and smooth (if you like it chunky, use a fork to mash them up)
- Spray an 8x8 baking pan (single recipe) or a 13x9 baking pan (double recipe) with cooking spray, then line it with parchment paper to hang over the edges.
- In a bowl, add the flour, salt, oats, butter, brown sugar, baking soda, baking powder, and cinnamon, and mix in the food processor until combined or the oats look like they are in chunks.
- Pat 2/3 of the oat mixture into the bottom of the lined baking pan. I use a fork around the pan to ensure it’s packed nicely.
- Add the date mixture to the oat mixture and smooth it out over the top.
- Use the rest of the oat mixture and crumble over the top. Don’t press in as you did for the bottom of the pan. Just let the oats fall all over the top of the date mixture.
- Bake in the oven for 25 minutes or until golden brown.
- Let cool completely, then pull the date squares out by lifting the parchment paper and placing it on the counter.
- Cut into squares with a knife and set them back into the pan. The parchment helps to get them out quickly.
Notes
You can freeze for six months. Depending on how big you cut your date squares, you can get more or less than I have. They are best eaten cold or at room temperature once they cool from the oven.
How to Store and Freeze Date Squares
I often make date squares ahead for guests or Christmas baking. Allow them to cool completely before packing so condensation does not make the oat crumble soggy.
Storage: Keep cooled date squares in an airtight container in the refrigerator for up to five days. Separate layers with parchment paper if stacking. Freezing: Wrap individual squares or separate layers with parchment, then place them in a freezer-safe container or bag for up to three months for best quality. Thaw in the refrigerator before serving.
When making this recipe, line a Tupperware container with parchment paper, then set the cut date squares inside.
If you don’t have Tupperware, I suggest using freezer-safe glass containers as they are durable.
You can also make these squares months ahead of Christmas to prepare for your holiday dessert trays.
I also find if I make the date squares ahead of time or other desserts, it takes the holiday stress off my shoulders.
Don’t be shy to play with the spices and flavours, or bake up a batch to give to your friend.
Sometimes I add rum-soaked raisins with the dates.
For this, you’d need a bottle of rum and Thompson raisins which you’ll rehydrate with the alcohol.
Update: I made these fantastic Date, Apple, and Raisin Squares the same way as this recipe with tweaks.
-Mr.CBB
More Homemade Recipes to Try
Find more baking ideas in The Free Recipe Depot.