

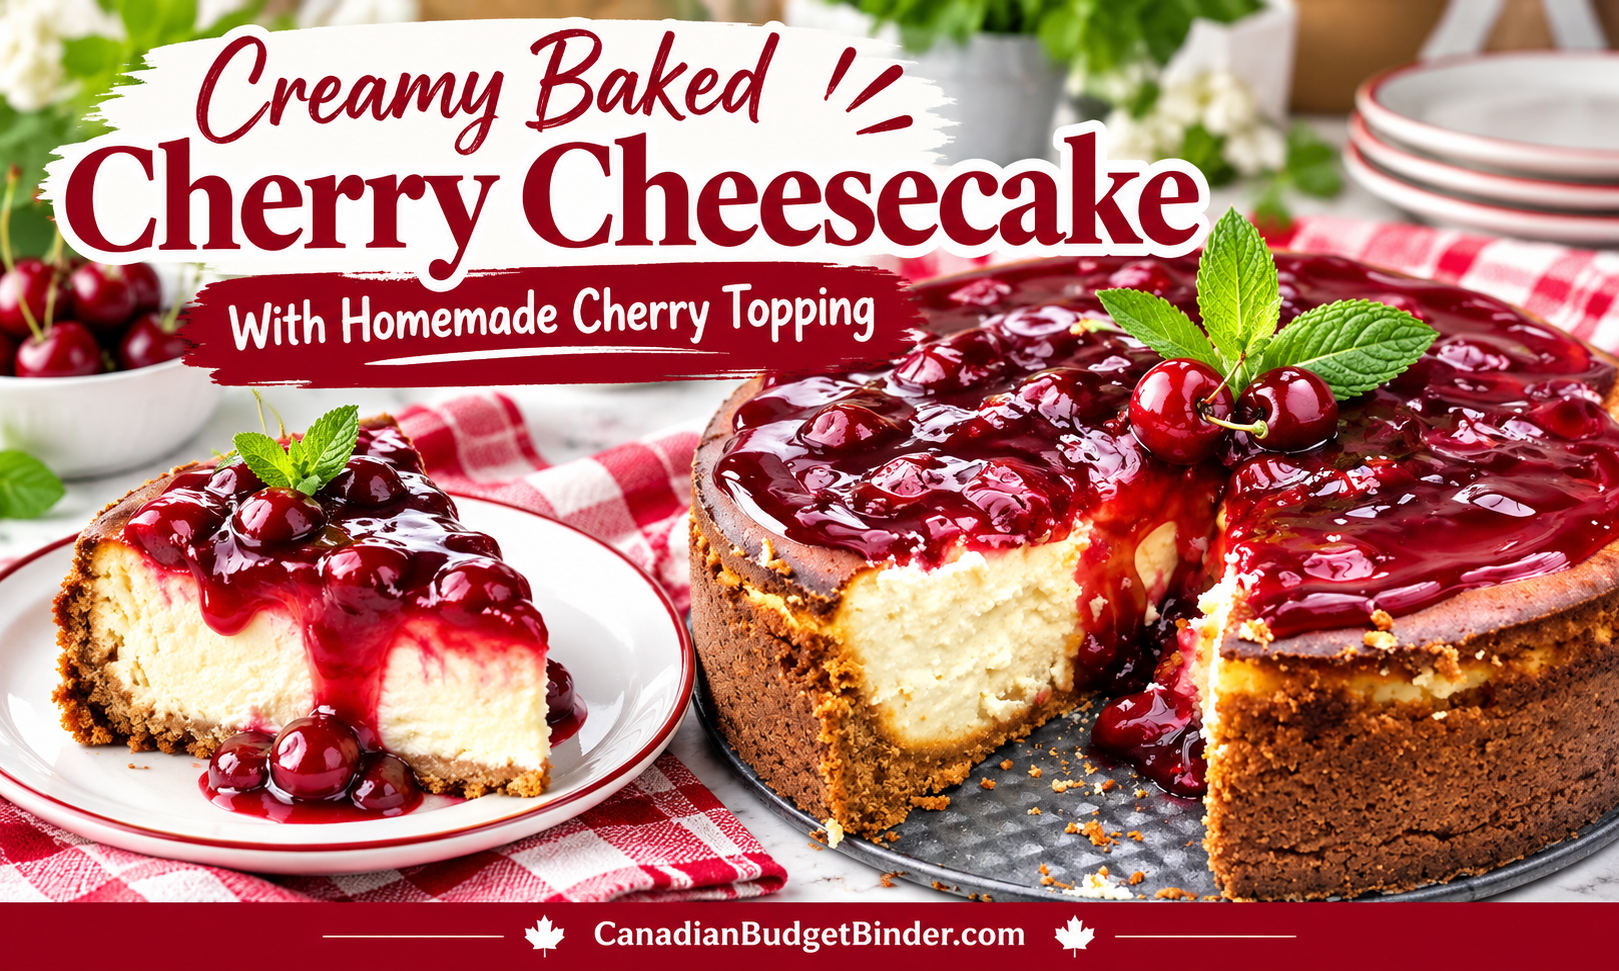

This creamy baked cherry cheesecake is rich, thick and made for anyone who loves a substantial slice of cheesecake. The filling combines cream cheese, ricotta and Greek yogurt, while the thick graham cracker crust and homemade cherry topping bring everything together.
I originally made this cheesecake in a 10-inch springform pan, so it is a generous dessert for family dinners, holidays, birthdays and other gatherings. It is also an excellent make-ahead dessert because the texture improves after a long chill in the refrigerator.
Why This Cherry Cheesecake Is Different
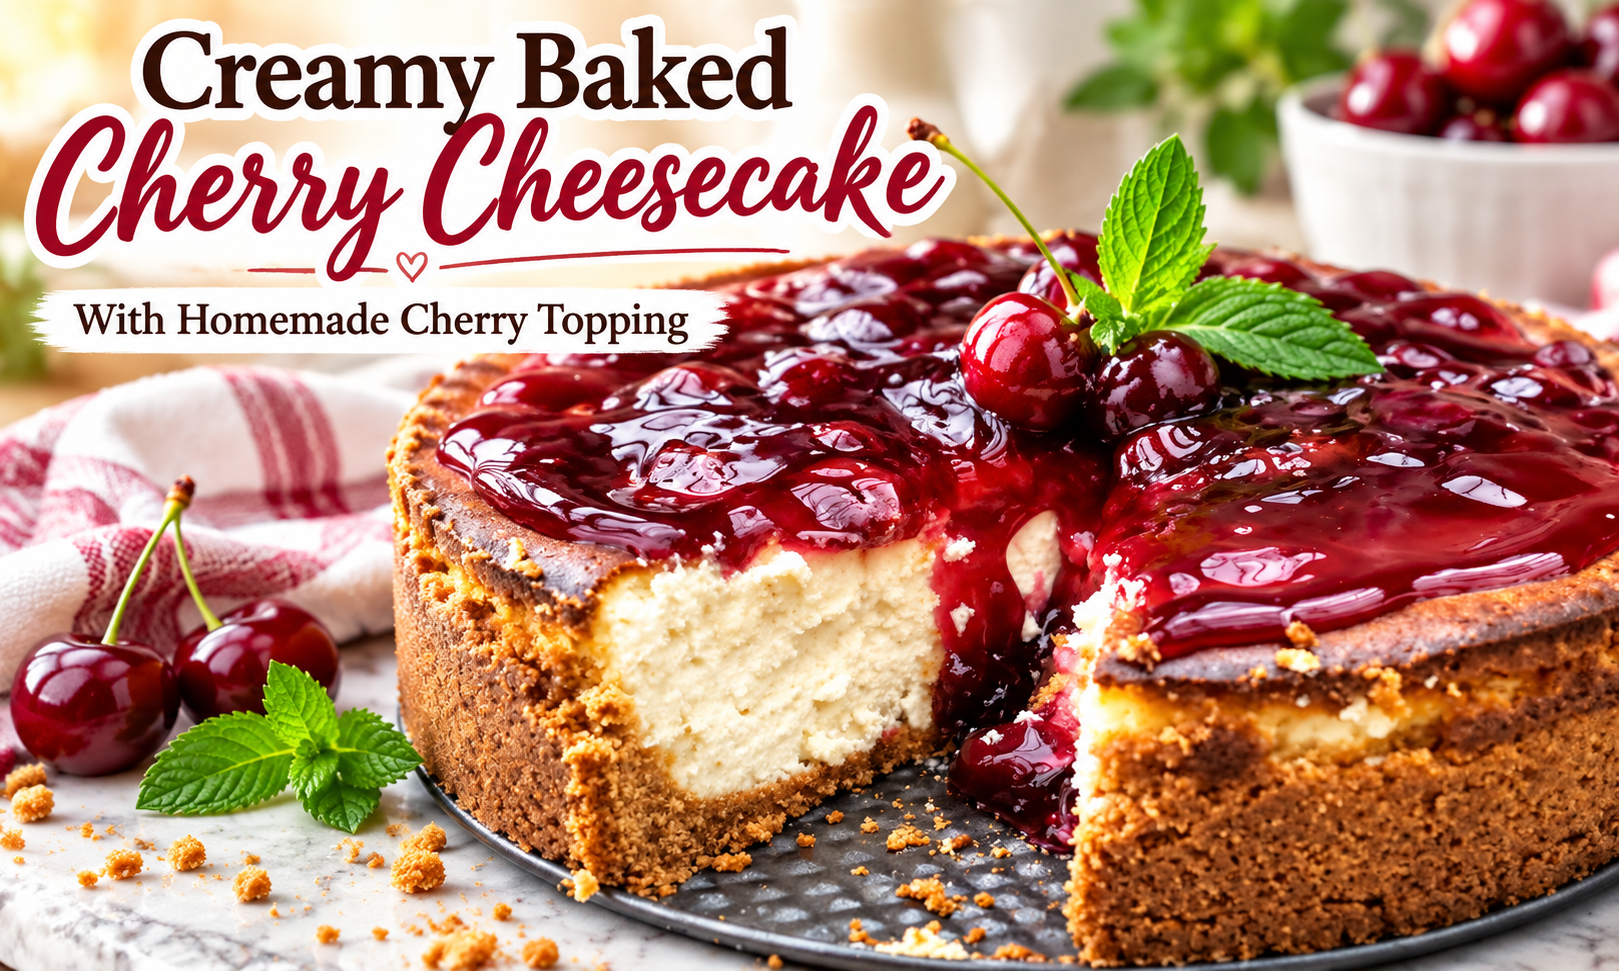
This is not a basic cream-cheese-only cheesecake. Ricotta adds body, Greek yogurt adds a gentle tang and evaporated milk helps create a creamy filling. Lemon zest brightens the flavour without turning it into a lemon cheesecake.
The crust is intentionally thick and is pressed across the bottom and up the sides of the springform pan. That extra graham cracker crust balances the rich filling and gives every slice plenty of texture.
Cherry Cheesecake Ingredient Notes
Cream Cheese and Ricotta
Use full-fat brick-style cream cheese for the best structure. Full-fat ricotta gives the cheesecake extra body and a slightly lighter texture than a filling made entirely with cream cheese.
Greek Yogurt
Vanilla Greek yogurt adds sweetness and tang. Plain Greek yogurt also works if that is what you have on hand.
Graham Cracker Crust
The crust uses graham cracker crumbs, granulated sugar and melted butter. Press it firmly into the pan before its short pre-bake so it holds together when the cheesecake is sliced.
Homemade Cherry Topping
The topping is made with sweet cherries, sugar, lime, honey and a simple cornstarch slurry. Let the topping cool completely before spooning it over the chilled cheesecake.
How To Make Baked Cherry Cheesecake
1. Pre-Bake the Graham Cracker Crust
Heat the oven to 350°F (175°C). Mix the graham crumbs, sugar and melted butter until evenly moistened, then press the mixture firmly into the bottom and up the sides of a lightly greased 10-inch springform pan. Bake for about 10 minutes and set aside to cool.
2. Mix the Cheesecake Filling Gently
Beat the cream cheese, ricotta, Greek yogurt and sugar only until smooth. Add the eggs on low speed and mix just until incorporated. Finish with the vanilla, lemon zest, evaporated milk and flour. Avoid whipping excessive air into the batter because that can encourage cracking as the cheesecake cools.
3. Bake Until the Centre Still Wobbles Slightly
Pour the filling into the cooled crust and bake for about one hour. The outside should look set while the centre still has a slight wobble when the pan is gently moved. A cheesecake should not be tested like a loaf cake, so there is no need to wait for a toothpick to come out clean.
4. Cool and Chill Thoroughly
Let the cheesecake cool to room temperature, then refrigerate it for at least four hours. Overnight is even better because the filling becomes firmer and the flavours have more time to settle.
5. Add the Cherry Topping
Once both the cheesecake and cherry topping are cold, spoon the topping over the cheesecake. For neat slices, use a clean sharp knife and wipe the blade between cuts.
How To Know When Cheesecake Is Done
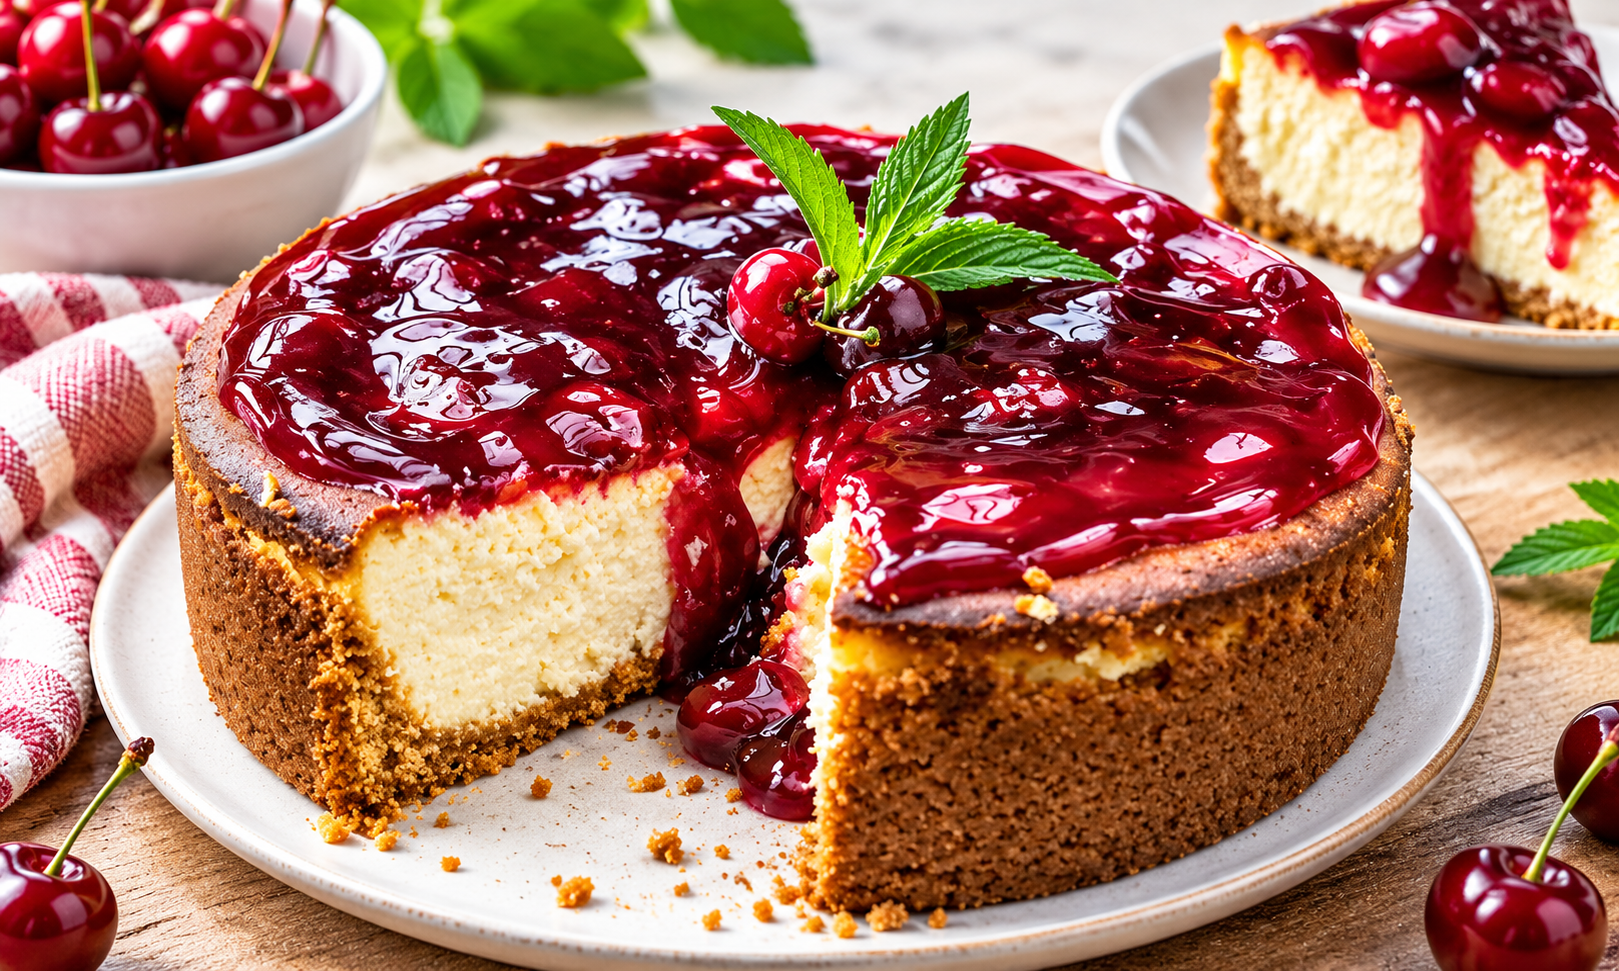
The most important visual cue is the centre. The edges should be set, but a small area in the middle should still move slightly when you gently jiggle the pan. The residual heat continues to set the cheesecake as it cools. Baking until the entire centre is firm can leave the filling dry or overbaked.
Make-Ahead, Storage and Freezing Tips
Make It Ahead
This cheesecake is ideal for making the day before you plan to serve it. Chill the baked cheesecake overnight and add the cooled cherry topping after the cheesecake has fully set.
Refrigerator Storage
Keep leftover cheesecake covered and refrigerated. For the best flavour and texture, enjoy it within three to four days.
Freezing
If you want to freeze the cheesecake, it is easiest to freeze it before adding the cherry topping. Wrap the completely chilled cheesecake well and freeze for up to one month. Thaw it overnight in the refrigerator before adding the topping and serving.
Budget-Friendly Cheesecake Tips
Cheesecake ingredients can add up quickly, especially when cream cheese is not on sale. If you know you are making this for a holiday or birthday, watch for sales on cream cheese and butter a few weeks ahead.
Store-brand graham cracker crumbs work well for the crust. Frozen pitted cherries can also be useful for the cooked topping when fresh cherries are expensive or out of season; thaw them first and account for any extra liquid while the sauce cooks.
If plain Greek yogurt is less expensive than vanilla, use plain and let the vanilla already in the cheesecake provide the flavour.
More Cheesecake Ideas
If you prefer a no-bake dessert, try Dad’s No-Bake Cherry Cheesecake. You may also like my Blueberry Ricotta Cheesecake or Lemon No-Bake Cheesecake.
Printable Cherry Cheesecake Recipe
The printable recipe card below contains the full ingredient list, homemade cherry topping and updated baking instructions.

Creamy Baked Cherry Cheesecake
A rich baked cherry cheesecake made with cream cheese, ricotta and Greek yogurt, finished with a homemade cherry topping and a thick graham cracker crust.
Ingredients
- 4 cups graham cracker crumbs
- 3 tablespoons granulated sugar
- 10 tablespoons melted butter
- 2 pkgs full-fat cream cheese
- 1 450g container of full-fat ricotta cheese
- 1 cup Vanilla Greek Yogurt (or plain)
- 2 cups of granulated sugar
- Zest of one lemon
- 5 eggs at room temperature
- 1 cup of evaporated milk
- 1/4 cup all-purpose flour
- 1.5 tablespoons of vanilla extract
- 2 cups of pitted, cleaned, sweet cherries
- 1/3 cup granulated sugar
- Rind of one lime
- 2 teaspoons of lime juice
- 1 teaspoon honey
- 1 tablespoon cornstarch + 1 tablespoon cold water mixed
Instructions
Graham Cracker Crust
- Preheat the oven to 350°F (175°C).
- Mix the graham cracker crumbs, sugar and melted butter until evenly moistened. Press firmly into the bottom and up the sides of a lightly greased 10-inch springform pan.
- Bake the crust for about 10 minutes, just until lightly golden. Set aside to cool while you prepare the filling.
Cheesecake Filling
- Beat the cream cheese, ricotta, Greek yogurt and sugar just until smooth and combined.
- Add the eggs one at a time on low speed, mixing only until incorporated. Mix in the vanilla.
- Add the lemon zest, evaporated milk and flour and mix on low just until combined. Avoid overmixing.
- Pour the filling into the cooled crust.
- Bake for about 60 minutes, checking near the end. The edges should look set while the centre still has a slight wobble when the pan is gently moved. Do not wait for a toothpick to come out clean.
- Cool the cheesecake to room temperature, then refrigerate for at least 4 hours, preferably overnight.
Homemade Cherry Topping
- Add the cherries, lime zest, lime juice, sugar and honey to a saucepan. Cook over medium heat, stirring occasionally, until the cherries soften and release their juices.
- In a small bowl, stir the cornstarch and cold water together until smooth.
- Stir the cornstarch slurry into the cherries and continue cooking until the topping thickens.
- Remove from the heat and cool completely before using.
- Once the cheesecake is fully chilled, spoon the cooled cherry topping over the top.
To Serve
- For clean slices, let the cheesecake sit at room temperature for about 15 to 20 minutes before serving. Use a sharp knife and wipe the blade between cuts.
- Cover and refrigerate leftovers; for best quality, enjoy within 3 to 4 days.
Notes
For the cleanest slices and best texture, make the cheesecake a day ahead and chill it overnight. The cherry topping can also be prepared ahead and refrigerated separately until the cheesecake is fully chilled.
More Cherry and Cheesecake Recipes
Try these next: Cherry Bakewell Cheesecake Blondies, Strawberry Rhubarb Cheesecake Bars and Coconut Cherry Pie Bars.
Follow The Free Recipe Depot
Love homemade recipes? Follow The Free Recipe Depot on Facebook, the sister recipe page to Canadian Budget Binder, for more recipes and food ideas.
Discussion: What is your favourite cheesecake topping: cherry, blueberry, strawberry, chocolate or something else?
Thanks for reading,
Mr. CBB
Mmmmm yummy defo be trying this one out as I don’t usually do baked cheesecake I do the no bake version!
Sounds like quite a few people do the no-bake version.. give this one a go mate you’ll love it.
This looks absolutely glorious. Unfortunately, I think I’m gonna have to resist if I have ANY hope of sticking to my new years resolutions 🙂
Ya I know it can be tough to stick to your guns but you sound like you are on a roll.. good luck.
I usually make a no bake version from a recipe I got from my younger SIL years ago and hubby loves it! It’s supposed to be made in a flan shell but I use a graham cracker pie shell. This look s like something hubby would love!! I might try making it for the next family gathering as everyone loves cheesecake!!! I have a spring form pan, but I’m not sure if it is big enough. Guess I’ll have to check…. I have some cherries in the freezer I bought for baking, I buy a pail of them when they are in season every couple of years. Nice for the quick fruit crisp when a craving hits…. Sure hope somebody has cream cheese on sale soon!!!!!!
This turned out amazing Christine. If he loves cheesecake he will love this recipe. 🙂
You just can’t beat homemade!
You bet!
Can’t wait to try this! I tried cheesecake once, years ago, it was a total flop and I haven’t tried since as I’ve always heard it’s very hard to make. This version sounds doable, though.
This is a simple recipe… you won’t mess it up, trust me. 🙂
You sold with the image of the cake ^ 🙂
Looks yummy, though probably too much yummy for a chubby young fellow like me. Certainly no harm in trying it once, though, is there??
Oh it’s worth trying… I tried every slice in this cheesecake lol.
Hehe. Got to make sure the cake is tasty, and the only way to do that is to chomp it all! Nom.
Ya,I ate it all but the wife had a bite here and there.. It was worth it…
This recipe looks delicious and I will add it to our cheat days! =)
It’s so easy and what cost you near what you would pay to buy it at the bakery.